Create APA™ Format Document Using Microsoft Word Part 2

-
Set the line spacing to 'Double,' then click the 'OK' button to close the dialog box.
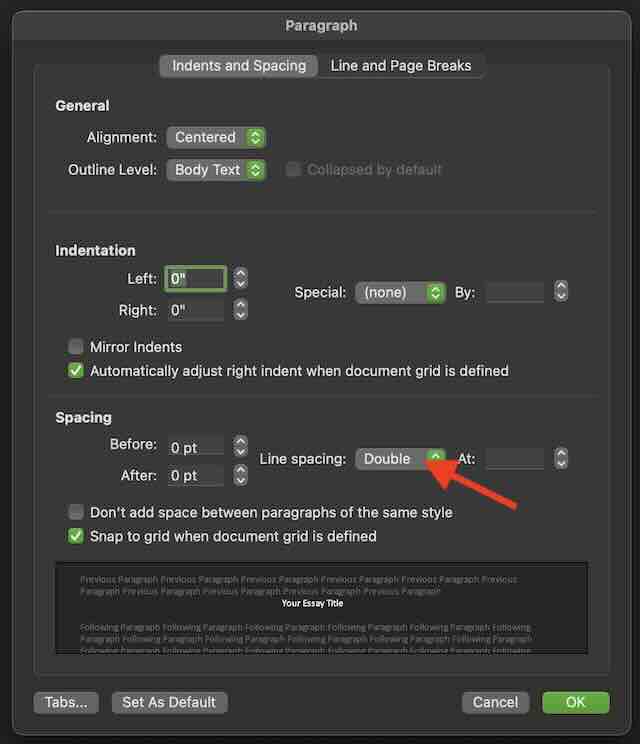
A screenshot showing where to set the line spacing to 'Double.' -
Now that we have the proper settings configured, let's ensure the rest of the document uses these settings consistently. With the text still selected, right-click on the 'Normal' style and select 'Update Normal to Match Selection.'
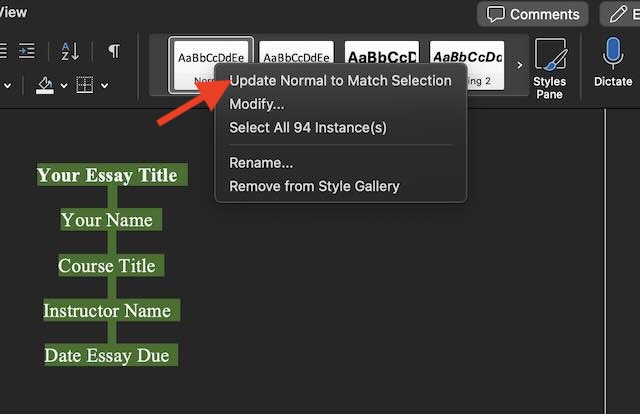
A screenshot demonstrating how to apply settings to the entire document. -
Center the text.
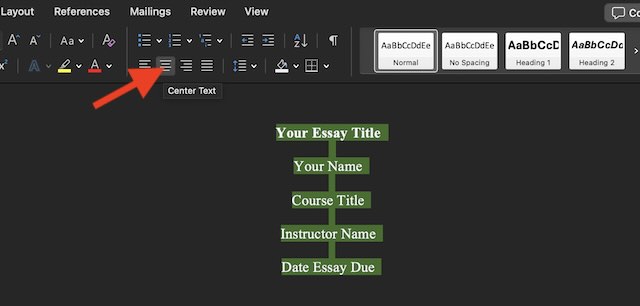
A screenshot showing how to center the text. -
Position the text cursor (the blinking bar) at the beginning of the essay title. Press 'Enter' nine times to center the text on the page. For group essay papers, adjust accordingly, as multiple student names may require additional lines. Use your best judgment to vertically center the text.
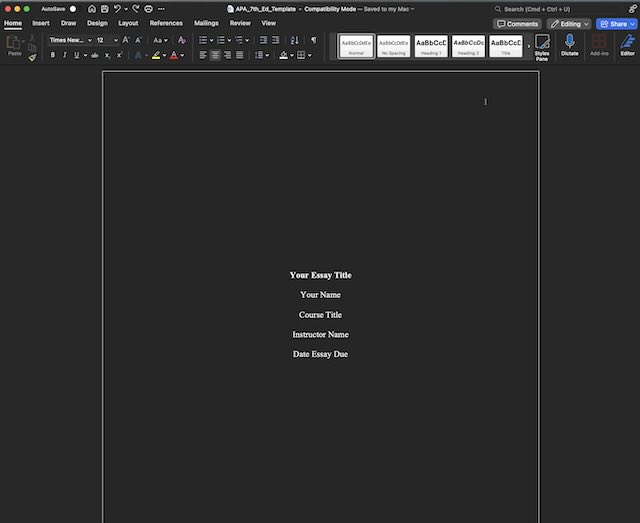
A screenshot demonstrating how to vertically center text. -
The title page is now complete! Let's move on to the rest of the document. To add a second page, place your cursor at the end of the 'Date Essay Due' line. Click on 'Insert' 'Pages' 'Page Break' or use the shortcut Command (⌘) + Enter on Mac, or Ctrl + Enter on Windows.
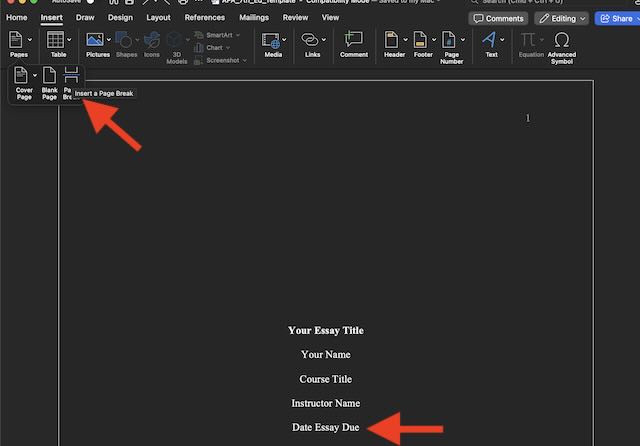
A screenshot demonstrating where to find and apply the page break. On the first line of page 2, type 'Abstract' and center the text.
-
"Set the text on the second line to left-aligned and begin writing. The abstract provides a summary of the problem, participants, hypotheses, methods, results, and conclusions. Note that not all instructors require this page.
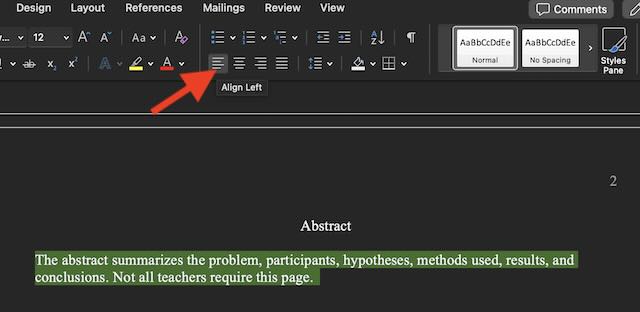
A screenshot showing how to set text left-aligned. When you are finished, click on 'Insert' 'Pages' 'Page Break' or use the shortcut Command (⌘) + Enter on Mac, or Ctrl + Enter on Windows to create page 3.
Proceed to the next page to continue with the rest of this tutorial
American Psychological Association (APA), are registered trademarks of the American Psychological Association.